Making a Pot in a Pot Refrigerator
In some situations, especially in communities where there is no electricity, storing cold foods for long periods of time can be difficult. One easy solution would be to build a pot in pot refrigerator. Using simple pots, water and sand together, this type of refrigerator is currently being used by tonnes of farmers in warmer climates who have the need to keep their food for a long time while keeping the insect away.
By keeping the sand moist at all times, the evaporation will keep the produce inside cool. This allows produce to last longer than when stored at room temperature. This method is also good for a picnic or outdoor meal. The following will show you how you are able to make your own.
Some Things that You Will Need

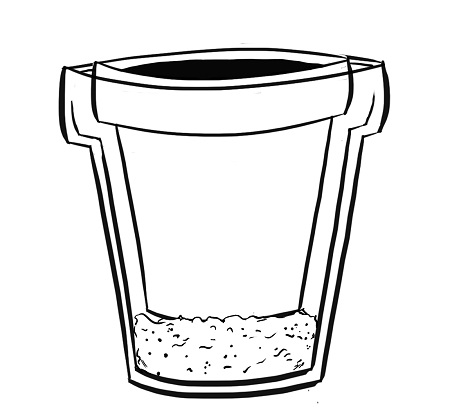
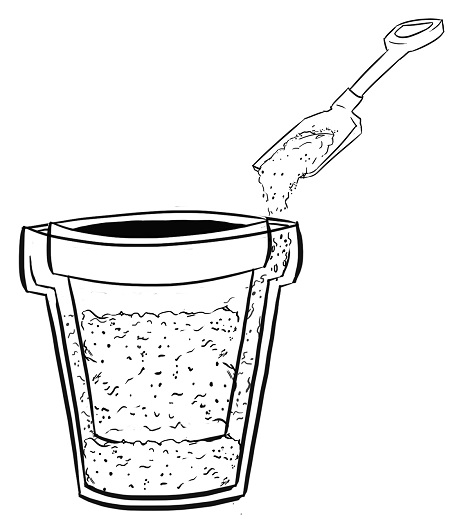
• Water and Sand
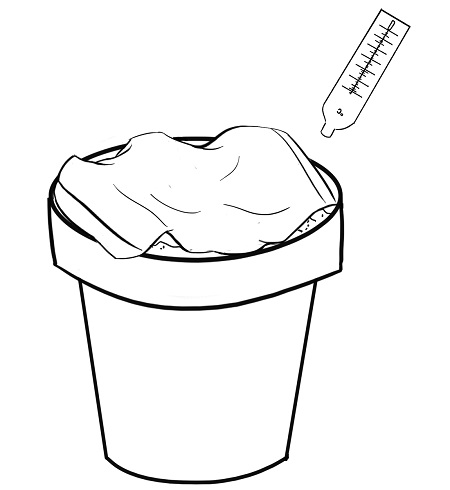
• Cloth to cover pots
• Something to plug the hole in the bottom of the pots if needed
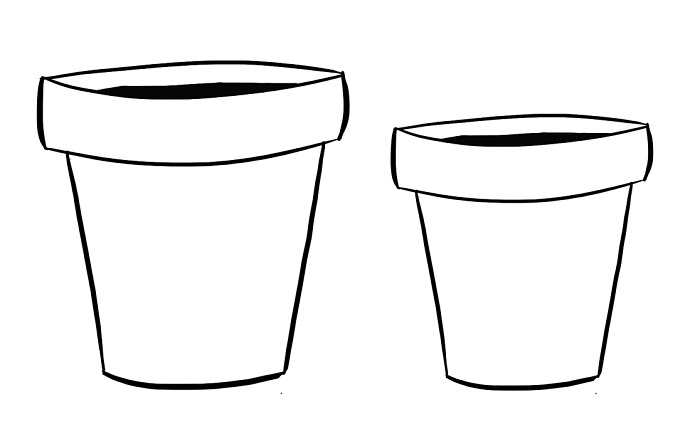


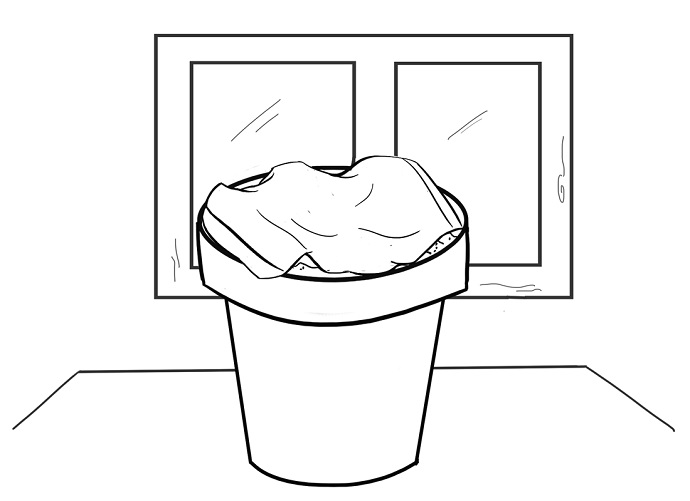
Allow the pot to dry. Place the pot in a dry place with pleanty of space to allow the water to properly evaporate outward.
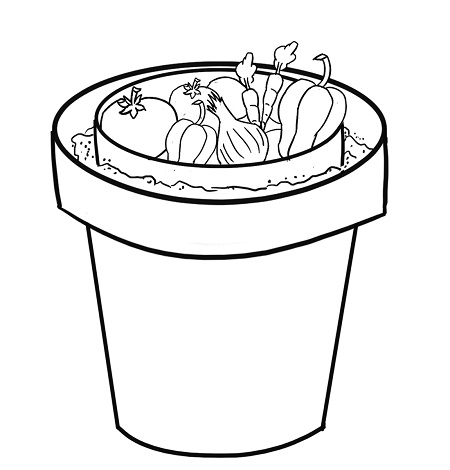
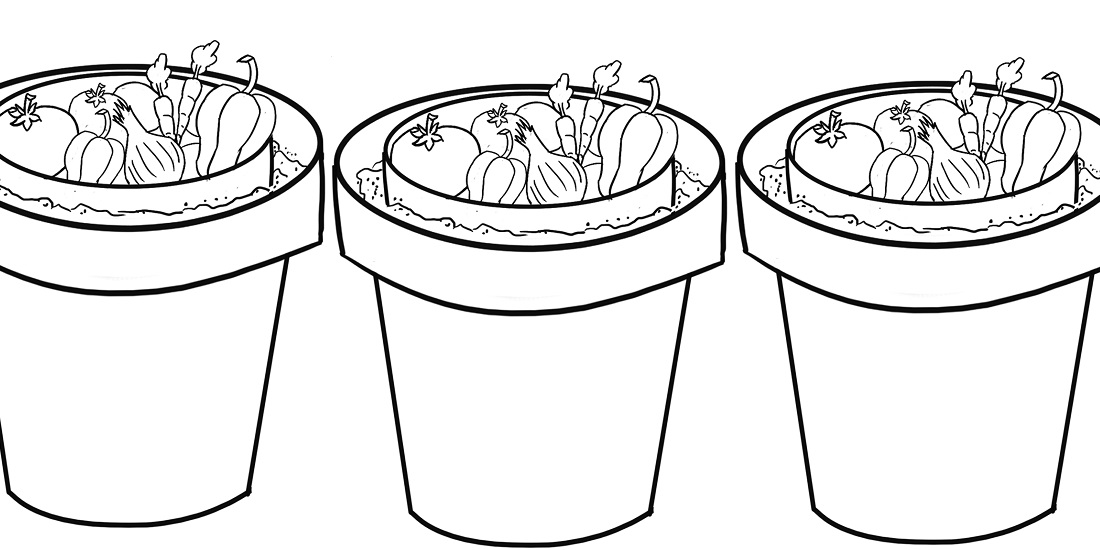
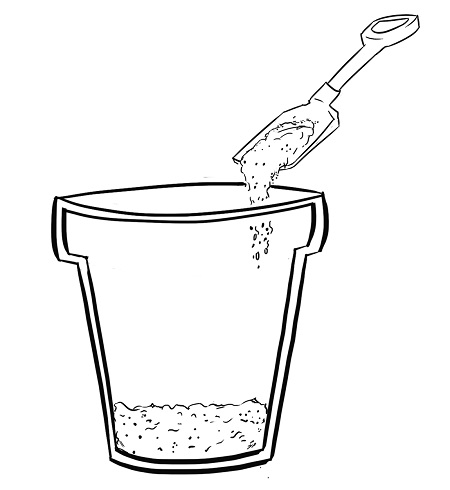
Put the vegetables or other items inside of the smaller pot. You must check the sand regularly to make sure that it is moist. If needed, pour more water into the sand.
Tips to help you out:
• The refrigerator is also known as the “Zeer” pot in Arabic
• You can try many different vegetables and fruit to see how long you are able to keep them in the pot.
• Meat is able to be kept in the pot for up to two weeks compared to just a few hours without using this pot in pot refrigerator.
• Liquids and other fluids are able to be kept at 15c
• This pot in pot refrigerator is able to prevent humidity and fungi growth
Some warnings:
• Evaporation cooling will work more effectively if the pot in pot refrigerator is kept in dry heat. In high humidity conditions, this method will not work.
Illustrations by, Aerialist Joe Art.